Select WordPress, Drupal, or Front-End (Decoupled).
Click Deploy to start the installation.
Wait a few minutes for the setup to complete.
4. Complete the Installation
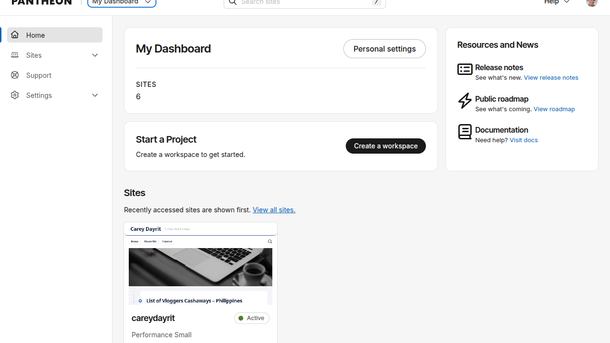
Click Visit your Pantheon Dashboard.
Click Visit Development Site.
Follow the on-screen CMS setup wizard.
Choose your language, admin username, and password.
Your development website is now live and ready for customization. You can build, test, and add content completely for free. You only pay when you are ready to link a custom domain and go live to the public.
There are several ways to limit or restrict WordPress admin access by IP address.
Add some code to your wp-config file to restrict access to the WordPress admin area. Here are the steps:
Log in to your website’s server using an FTP app like Filezilla or the file manager in your hosting control panel.
Locate the wp-config file in the root directory of your WordPress installation.
Download the wp-config.php file to your computer and open it in a text editor.
Add the following code to the wp-config.php file:
/* Add any custom values between this line and the "stop editing" line. */

$ip_allowlist = [
   159.223.78.3,
   193.56.29.113,
   178.62.113.151,
   80.76.51.210,
   193.201.9.202,
   45.227.254.22,
];
$ip =  $_SERVER['REMOTE_ADDR'];

if ( preg_match( '/(wp-login.php)/', $_SERVER['REQUEST_URI'] ) ) {
    $ip_found = in_array( $ip, $ip_allowlist, true );

	if ( ! $ip_found ) {
		// Check if this IP is in CIDR
		foreach ( $ip_allowlist as $_cidr ) {
			if ( strpos( $_cidr, '/' ) !== false ) {
				$_ip = ip2long( $ip );
				// expand the range of ips.
				list ( $_net, $_mask ) = explode( '/', $_cidr, 2 );
				// subnet.
				$_ip_net  = ip2long( $_net );
				$_ip_mask = ~( ( 1 << ( 32 - $_mask ) ) - 1 );
				if ( ( $_ip & $_ip_mask ) === ( $_ip_net & $_ip_mask ) ) {
					$ip_found = true;
					break;
				}
			}
		}
	}
	if ( ! $ip_found ) {
		header( 'HTTP/1.0 403 Forbidden' );
		exit;
	}
}
Replace xxx.xxx.xxx.xxx with the IP address that you want to allow access to the WordPress admin area. If you have multiple IP addresses, you can add one per line.
Save the changes to the wp-config.php file.
Upload the modified wp-config.php file back to your server, overwriting the original file.
After following these steps, only the specified IP addresses will have access to the WordPress admin area. Any other IP addresses trying to access the admin area will receive a 403 Forbidden error.
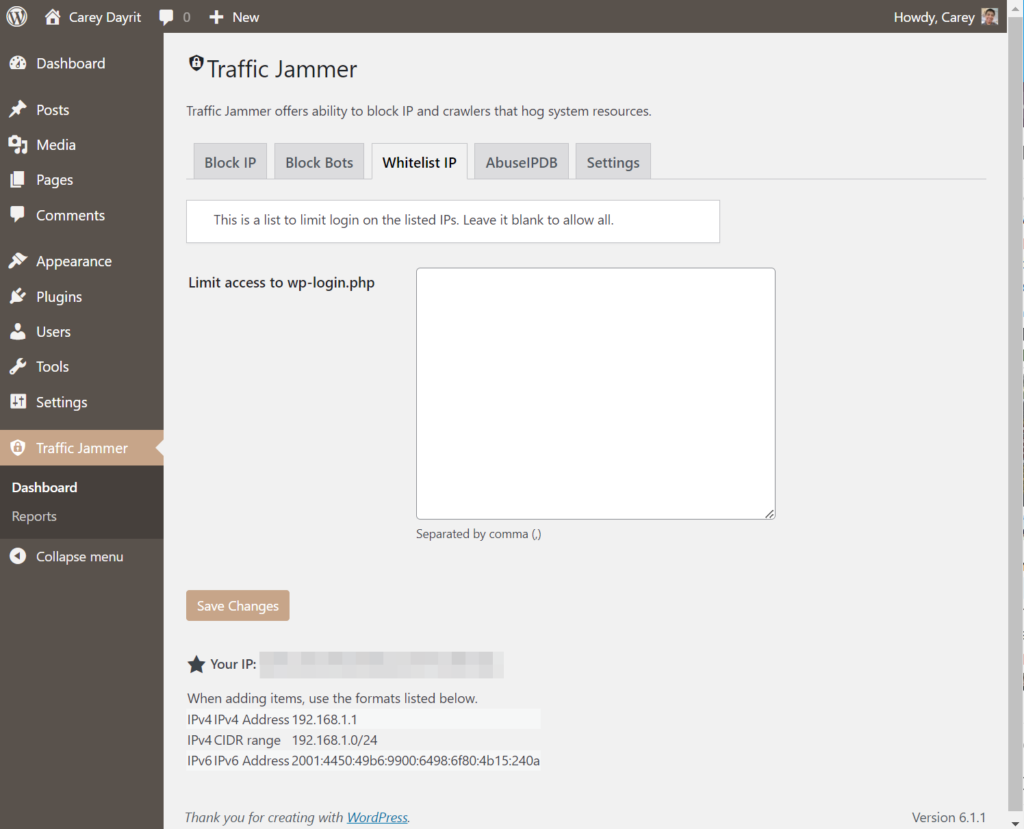
Alternatively, you can use the plugin Traffic Jammer that I wrote.
There is also a wp-cli command that is included in the plugin, here are the commands:
wp jam trust <IP> – add IP to the allowed list
wp jam untrust <IP> – remove IP from the allowed list
wp jam trustall – clear all limits
This plugin can also be used on the Pantheon terminus command, the plugin is very compatible with Pantheon no need to assume write access or symlinks to properly install the plugin.
This article is about blocking IPs in Pantheon for sites using the WordPress CMS. Prevent unwanted traffic incidents that might result in site outages and billing overages.
Review the nginx-access.log.
Download the nginx-access.log on the LIVE environment. The logs can be accessed using SFTP or by using the provided script from Pantheon’s documentation. Be sure to combine all the logs for a day if the site plan has multiple application containers. Identify the IP that has the highest number of visits and verify it with https://www.abuseipdb.com/
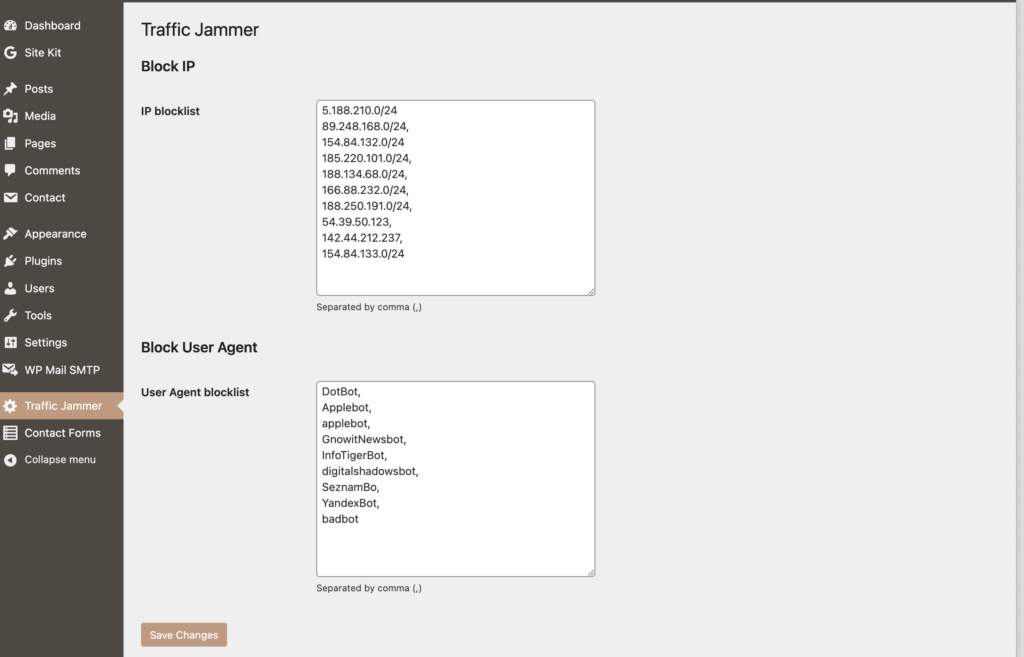
Be sure to install the plugin WP Traffic Jammer that can be downloaded at WordPress.org https://wordpress.org/plugins/traffic-jammer. The plugin has a wp-cli command that can be used on a remote wp-cli call using Terminus. It also has a settings page to add a single IP or an IP range.
Block the IP using Terminus.
Use remote wp-cli via terminus to block the IP.
$ terminus wp <sitename>.<env> -- jam block <ip>
To unblock the IP.
$ terminus wp <sitename>.<env> -- jam unblock <ip>
Block the IP on the WordPress Admin Dashboard.
On the Admin Dashboard, you would see the left side menu, click “Traffic Jammer” and add a single IP or IPs, CIDR format can be also used for IP ranges.
Block the IP using a PHP Snippet
Use a PHP snippet that can be added to wp-config.php file. This offers an advantage since it would be triggered before loading all the plugins and themes.
What a great way to start a new year with releases, as this is the same for the company offering the best WebOps SAAS (Software as a Service) Platform which is Pantheon. During the last week of December, a new version tag of Terminus has been released, comes version 3.
What is Terminus?
The Terminus command-line interface provides advanced interaction with Pantheon. Terminus enables you to do almost everything in a terminal that you can do in the Pantheon Dashboard, and much more. In practice, some of the features missing on the Dashboard are included in Terminus. Developers can also include in development workflow or as part of a script for deployment using continuous integration.
Operating System Compatibility
As of this writing tested to work on the following platforms
MacOS
Windows 10 – WSL 2 Ubuntu 20.0
Ubuntu 20.0 – this would include Ubuntu under Docker or VirtualBox
Before getting frustrated, included also are the list of platforms that Terminus would not work:
Windows 10 – Command Line
Windows 10 – Git Bash (MingW)
Ubuntu 18.0 and later versions
Linux system with coreutils equal to or less than 8.28
Prerequisites Library
PHP 7.4 or above
PHP Extensions (mbstring, xml, curl, cli)
curl
git (if you need to include plugins)
Installation
As for the prior version of Terminus, it can be installed in many ways, the new version is limited to work only on the standalone PHAR package. Assuming all the requirements are met. Start the installation on the home folder
cd ~
mkdir ~/terminus && cd ~/terminus
curl -L https://github.com/pantheon-systems/terminus/releases/download/`curl --silent "https://api.github.com/repos/pantheon-systems/terminus/releases/latest" | perl -nle'print $& while m#"tag_name": "\K[^"]*#g'`/terminus.phar --output terminus
chmod +x terminus
sudo ln -s ~/terminus/terminus /usr/local/bin/terminus
Plugins
The new version of Terminus comes with a plugin manager, installation now can be done using the terminus command
Description
WordPress plugin to block IP and bots categorized as harmful, resulting in heavy server loads from frequently crawled pages, or utilized in vulnerability/security breach scans. The plugiin can block: